Batch #4 and Version 4 has dropped! With each batch, the 3-Point Camera Strap has been refined as more parts and materials have been discovered!
What's new about Version 4:
Wider and padded shoulder strap
New colours with the switch to a wider 25mm webbing strap
Less bulky parts - swivel clip on main strap changed to sliding webbing adjuster, smaller swivel clip to the base of the camera; and heatshrink tubing finish on the cord ends
More flexibility in the three points attaching to the camera using high density cordage
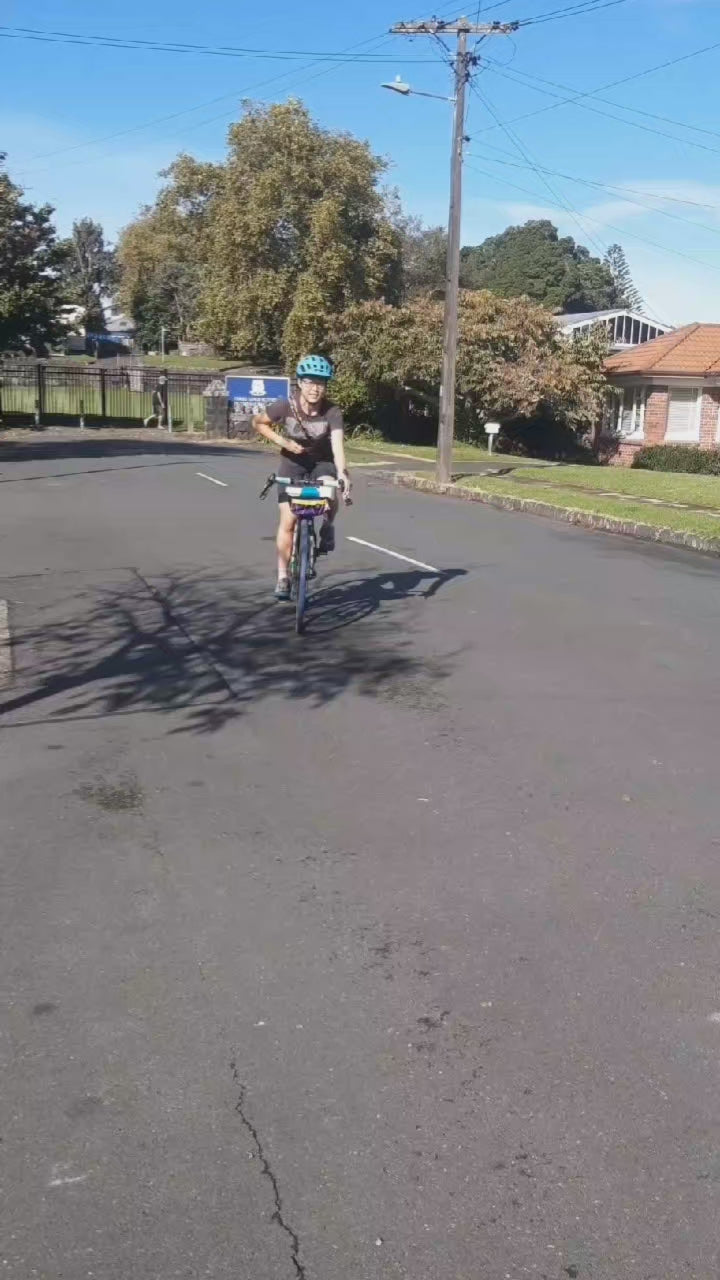
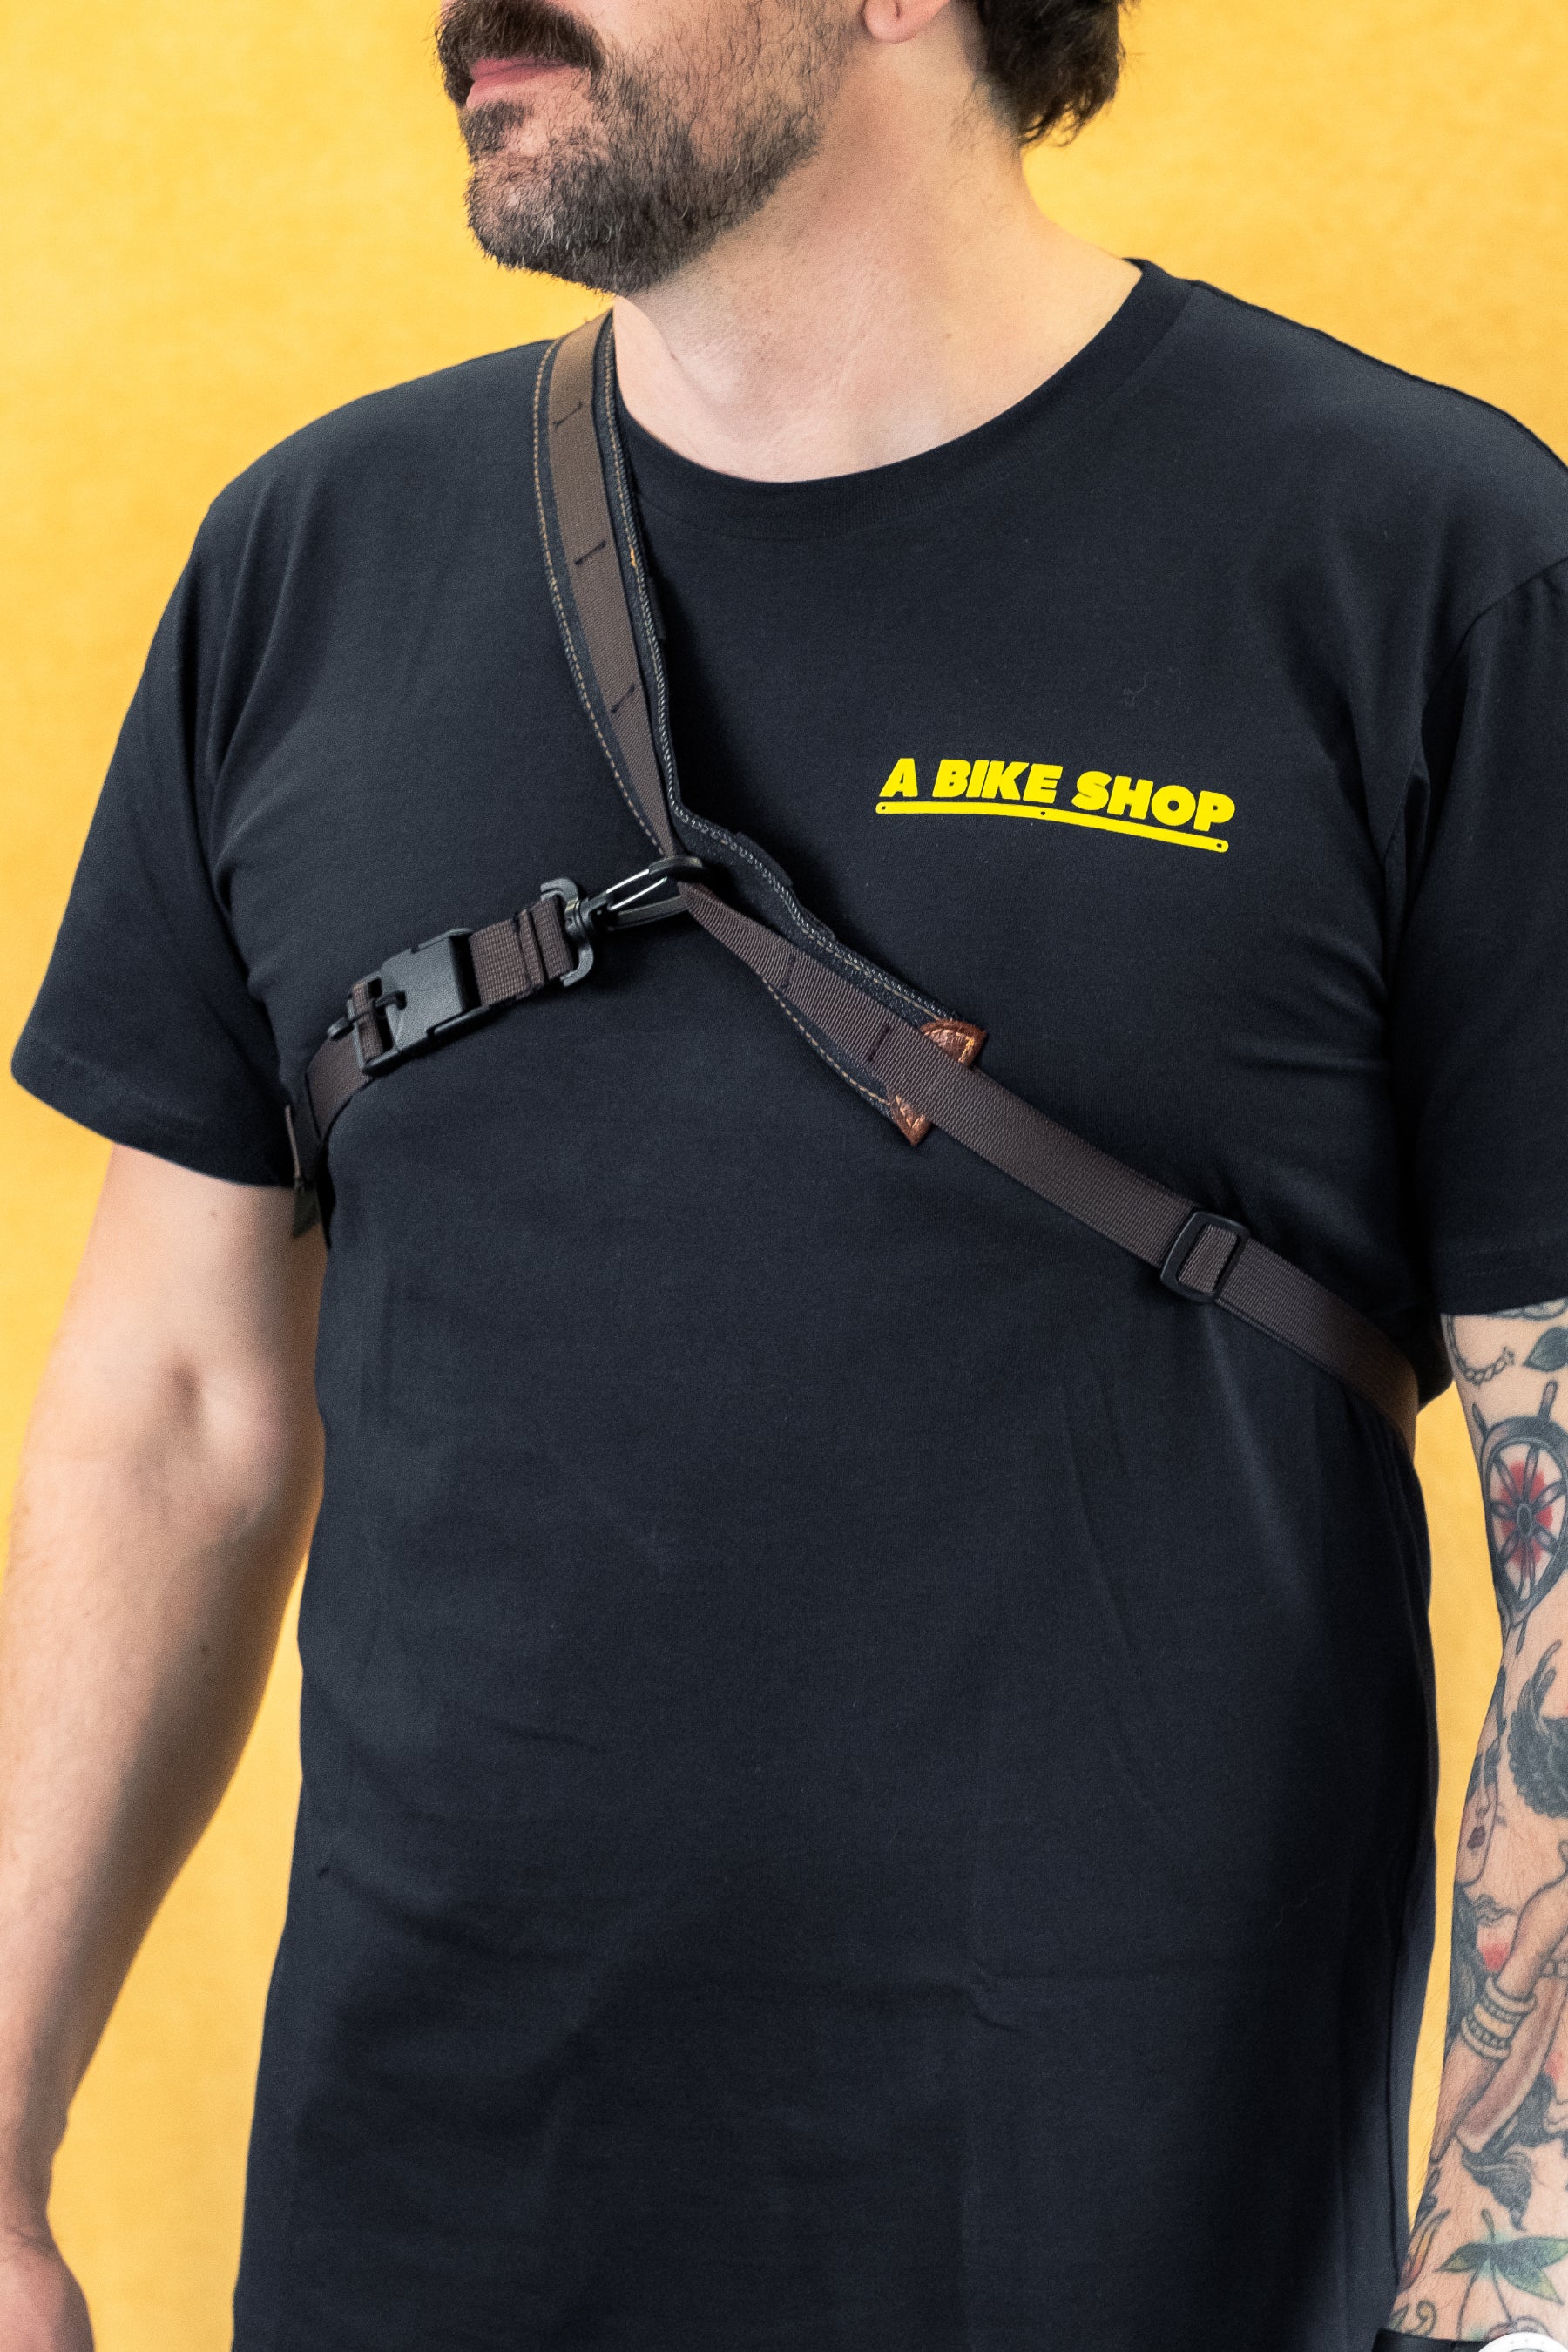
Secure your camera flat against your back with the magnetic release cross strap – both strap sections are adjustable to fit a range of sizes and heights including XL.
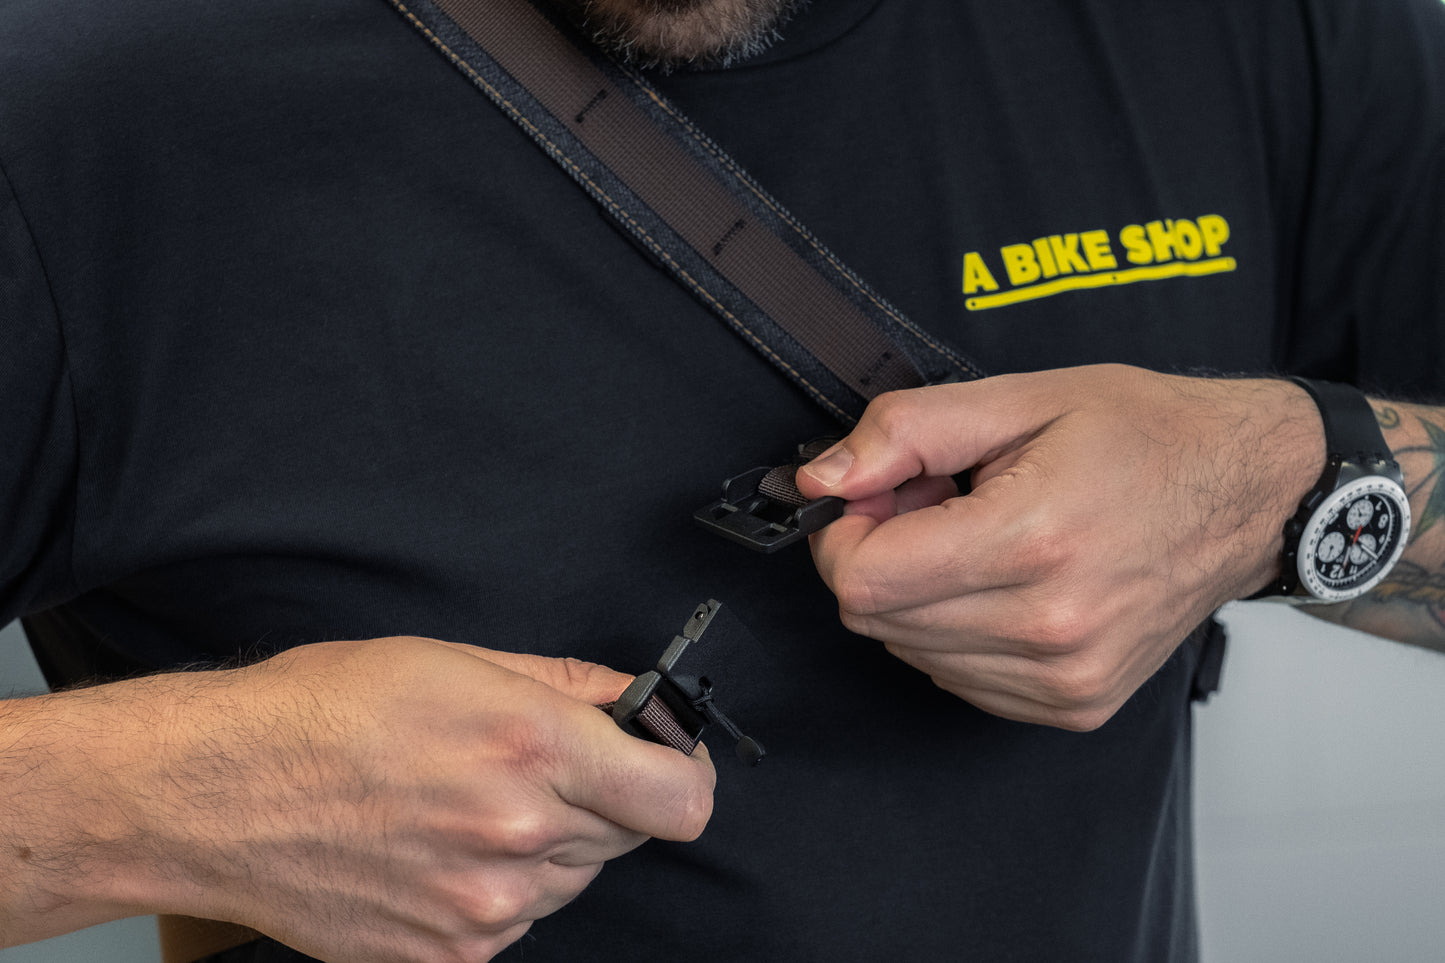
Release the cross-strap with a tug of the magnetic lock to swing your camera forward for a shot. Clip-in again single-handedly. If you get really good, you don't have to look or stop!
Product has been personally test-ridden for 300km of bikepacking.
Produced using 2x made-to-order aluminium carabiners, tensile strength rated at 151 kgf (kilogram force) each.
Best camera size: 35mm film cameras or similar size. Be your own judge as to whether this strap will hold your camera. The strap was designed for photography on long bike rides, so it's not assumed your camera will be massive - they'll be too heavy to ride with anyways.
Share
How to wear it - Instructions
Release the two keyrings at either ends and attach them to your camera by looping the cord through the side attachment points of the camera.
Release the magnetic clip and insert the tripod screw to the base of the camera.
Drape the main strap over your preferred shoulder with the label in the back.
Clip the two carabiners into the keyrings on either sides of the camera.
Depending on which shoulder you're wearing it on, you may have to flip the sliding webbing adjuster so that the cross-strap goes on the right side of you. Look for the gaps in the plastic part and slide it out of the webbing. This is a bit fiddly, so make sure you choose the right section on the webbing that gives you the best fit, before committing.
Adjust any of the strap lengths until the camera sits snugly on your back and doesn't swing around when you move.
Pull the tab on the magnetic clip to bring the camera to the front.